

Today I am going to provide a brief introduction to the Sitecore XM Cloud and also going to explain the process of setting up Sitecore XM Cloud Play Summit in a local environment.
So, let’s first understand what Sitecore XM Cloud is and what it consists of.
Sitecore XM Cloud
Sitecore Experience Manager Cloud (XM Cloud) is a fully managed self-service deployment platform for developers as well as marketers to efficiently launch engaging omnichannel experiences in the cloud using Sitecore’s headless CMS. It is a SaaS-based cloud content management system having the ability to scale automatically when required.
Sitecore XM Cloud is bundled with the latest version of Experience Manager, Page Editor, Sitecore Headless Experience Accelerator (SXA), Headless Services, Sitecore Next.js SDK (along with other heads), and Experience Edge.
Now let’s start with the prerequisites required to set up XM Cloud Play Summit in a local environment.
Prerequisites
Windows 10 Professional or Enterprise version 1903 or later
Enabled Hyper-V
Minimum of 16 GB of RAM
Sitecore license file
.NET Core 6.0 SDK - It is necessary for building and running cross-platform web, server, and console applications. Moreover, Sitecore Serialization commands are also included in .NET Core 6.0 SDK. You can check the version of your .NET core using the below command.
dotnet --list-runtimes
You can download the .NET Core 6.0 SDK at https://dotnet.microsoft.com/en-us/download/dotnet/6.0.
.NET Framework 4.8 SDK - It is included in Windows Updates. It is recommended to use Windows 10 for working with XM Cloud Play Summit provided by Sitecore. The .NET Framework 4.8 SDK was included as part of Windows 10 with May 2019 and November 2019 Update 528040 and Windows 10 with May 2020 Update 528372.
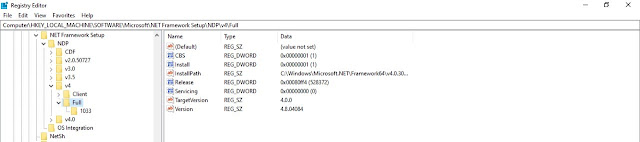
To check the version of your system, open the Registry Editor (Regedit) and open the following subkey: HKEY_LOCAL_MACHINE\SOFTWARE\Microsoft\NET Framework Setup\NDP\v4\Full. The entry named Release should contain the value 528040 or 528372 for .NET Framework 4.8.
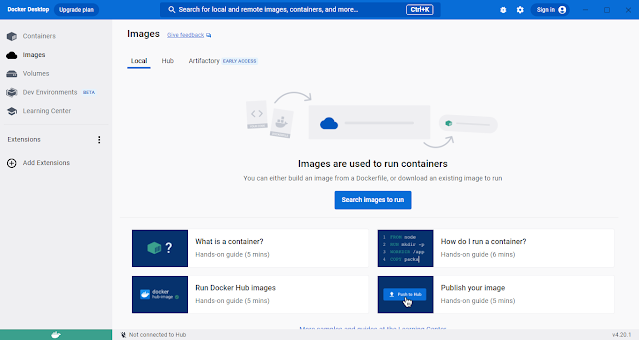
Docker Desktop - It is used for easily building, sharing, and running containers on Windows as you are allowed to do with Linux.
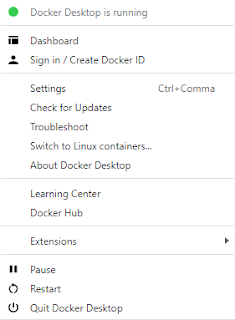
Note: After installing Docker Desktop you need to switch Docker Desktop to Windows Containers.
Note: I am using Docker version 4.20.1.
Node.js - It is an open-source, cross-platform JavaScript runtime environment. You will need a long-term support (LTS) version of Node.js.
PowerShell 5.1 - You need PowerShell 5.1 version as the PowerShell 7 version is not supported. To check the version of PowerShell you can run the below command in PowerShell.
Get-Host | Select-Object Version
Sitecore Cloud Account - Simply register for an account at https://portal.sitecorecloud.io if you don't already have one. You can skip this if you already have access to the XM Cloud portal.
Setup Sitecore XM Cloud Play Summit
1. Start the Docker Desktop and switch to Windows Containers. It is an important step to be followed or else you will not be able to set up Sitecore XM Cloud Play Summit on Docker.
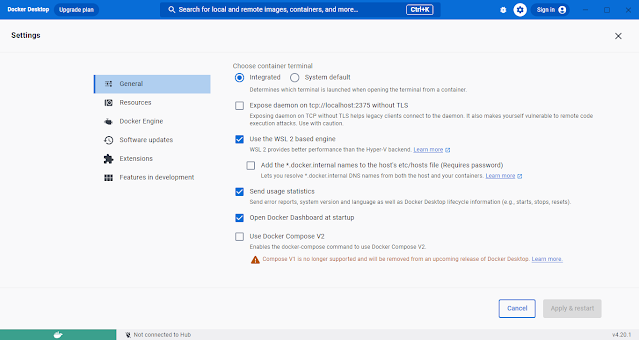
2. Ensure that in Docker settings "Use Docker Compose V2" is unchecked and "Use the WSL 2-based engine" is checked.
3. Now to avoid any conflict you must ensure that port 8984 is not being used by any other process. You can run the below command to check whether the port is free or being utilized by any process.
Get-Process -Id (Get-NetTCPConnection -LocalPort 8984).OwningProcess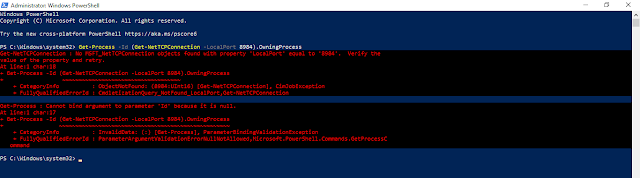
4. Now make sure that IIS is stopped by running the following command on your local environment.
iisreset /stop
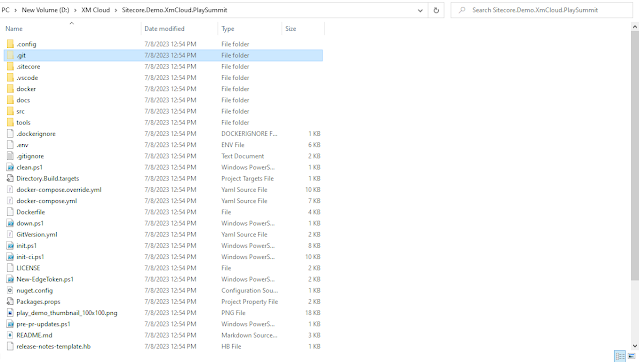
5. Now Clone the GitHub repository on your local machine from the path https://github.com/Sitecore/Sitecore.Demo.XmCloud.PlaySummit.
6. After that place a valid Sitecore license file in the C:\Sitecore\License\license.xml.
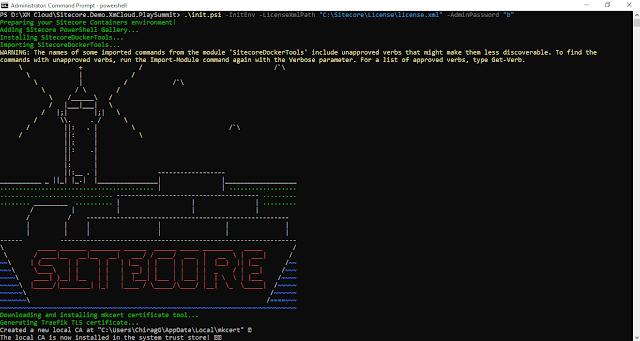
7. Now run Windows PowerShell as an admin and navigate to the path where you cloned the repository. Now execute the below command to bypass the execution policies.
Set-ExecutionPolicy -Scope Process -ExecutionPolicy Bypass8. After all these run the below command to initialize the environment.
.\init.ps1 -InitEnv -LicenseXmlPath “C:\Sitecore\License\license.xml" -AdminPassword "b"Note: If your license file is not at “C:\Sitecore\License\license.xml” then replace the path with the location where your license file exists.
9. Now close the PowerShell, again open it as administrator and navigate to the same path where you cloned the repository.
10. Now run the below command to download, install, and configure the Sitecore Docker images. It will take some time to complete this command.
.\up.ps1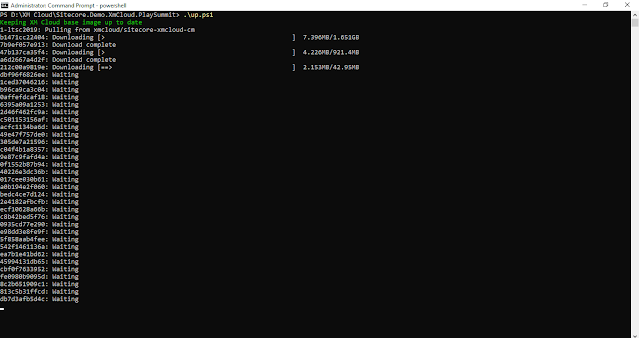
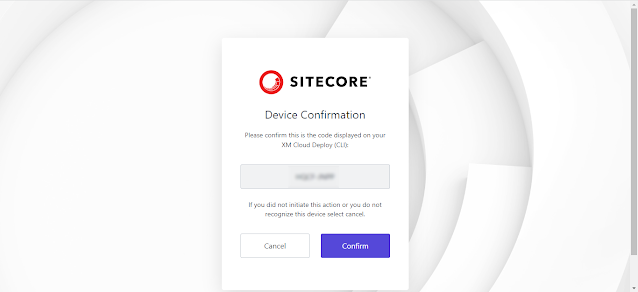
11. After sometime you will get a Device Confirmation screen on your browser. Click on the “Confirm” button to proceed further. After confirmation, other processes like Indexing and serialization of the items will be processed. Once all processes are done successfully, your local site will open on your browser.
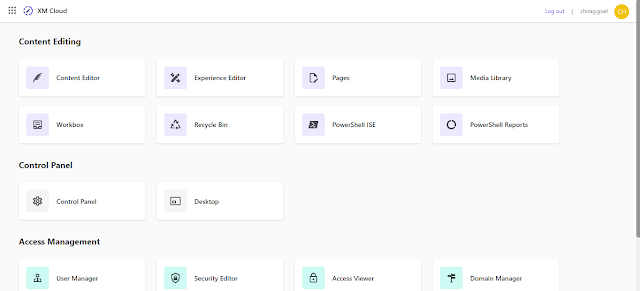
12. You can access the Sitecore instance at “https://cm.xmcloudcm.localhost/sitecore/client/Applications/Launchpad?sc_lang=en” and you can see frontend of the website at “https://www.xmcloudcm.localhost”.

Some commands necessary to work with Sitecore on Docker
1. For cleaning or removing the Sitecore instance on Docker run the following command.
Run Windows PowerShell as an admin at the path where you cloned the project. Now execute the below command.
docker-compose down2. To stop the Sitecore instance without losing the changes run the following command.
Run Windows PowerShell as an admin at where you cloned the project. Now execute the below command.
docker-compose stopNow to start back the Sitecore instance run the below command.
docker-compose startReferences
XM Cloud local development environment - https://doc.sitecore.com/xmc/en/developers/xm-cloud/walkthrough--setting-up-your-full-stack-xm-cloud-local-development-environment.html
Creating Local Sitecore XM Cloud - https://www.getfishtank.com/blog/creating-a-local-sitecore-xm-installation-for-xm-cloud